
This post will guide you through a complete Antilatency Devkit setup. We’ll follow https://antilatency.com/getting-started guide as a reference, adding some tips that will help you to get started as quick as possible. I’m assuming you have standard Devkit content:
- 1 Antilatency tracker
- 1 Wired USB socket
- Tracking area equipment: 4 reference bars with markers / bar connectors / 1 power supply / floor mats
For the OculusGo part, you’ll also need a MicroUSB male -male cable, not included in the devkit (http://bit.ly/MicroUSB_IT, http://bit.ly/MicroUSB_COM)
Unity Setup
First of all, since we are going to test our devkit with Unity, we need to setup Unity in the right way. For this tutorial, I used Unity 2019.1.x with this setup:
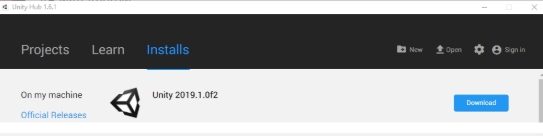
- From Unity Hub, download Unity 2019.1.x version (the version number should have one letter “f” inside)
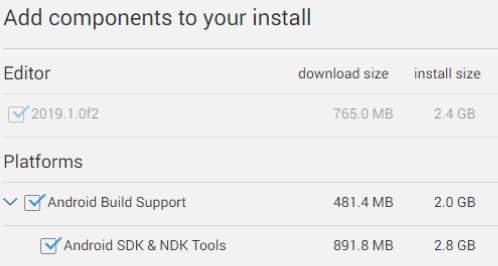
- Install also the Android build components:
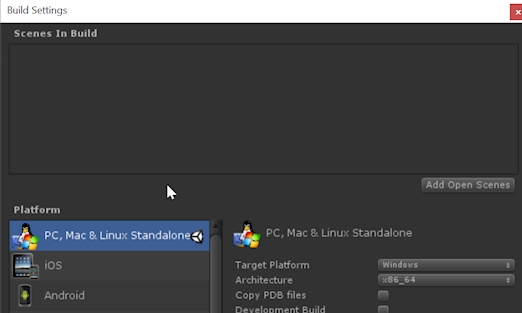
Once installed the right version with the right components, let’s first test our devkit inside Unity editor in desktop mode. Later, in the second part of this tutorial, we’ll see how to setup Unity to work in VR mode, allowing us to deploy our app on the OculusGo. - Ensure that your build Platform is set to PC/Windows, and continue with the tutorial
Bars and floor setup
Follow the instructions at https://antilatency.com/getting-started, “Tracking area setup”. Notice that:
- The entire setup could be easier if you first place the floormats on the floor, then connect the bars above the floor, and finally overturn the floor mats.
- The bars orientation is taken into account, so pay attention to the Antilatency bars layout reference.
- You need to setup the Entire Devkit floor area in order to test your Devkit correctly with OculusGo (16 floor mats, 4×4)
Once completed, your floor should look similar to this:
Software setup
In order to test your Antilatency tracker, follow the instructions at https://antilatency.com/getting-started, “Software setup/Instructions for Windows”. Notice that you have to:
- Run the AltSystem app
- Set the Environment/devkit as default layout
This step is mandatory, because when Antilatency Unity demo project will start, Antilatency API will query AltSystem to know what kind of environment layout the tracker should work with.
After this step, we are ready to test the tracker inside Unity editor. Skip the “official” Antilatency instructions steps until https://antilatency.com/getting-started, “Download SDK”
Download the SDK
- Download the zip file from “https://antilatency.com/getting-started”, “Download SDK”.
- Import Unity/AntilatencyIntegration.unitypackage inside your Unity project
Test your tracker
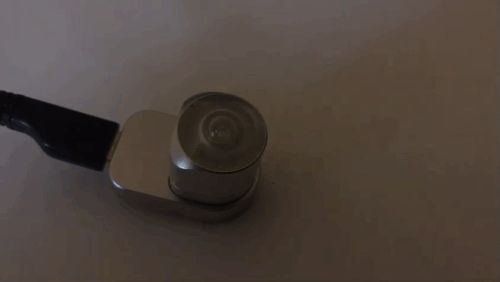
- Put your tracker into the socket and connect the socket with a standard microUSB-USB cable to your PC. The tracker should begin to blink:
- Open Antilatency/Integration/Samples/AltSample scene
- Press Play in the Unity editor
- Now try to move your tracker over the Tracking Area. The expected result should be:
- As soon as your tracker recognize 2 or more bars, it will start tracking the area correctly: in your Unity GameView you should see a Virtual environment with 4 tracking bars on the floor, correctly oriented.
- If you come close to one bar, the tracker camera inside your Unity GameView should change its height: here we are! 6DOF tracking in your hands, thanks to Antilatency hardware!
![]()
If your tracker doesn’t recognise the scene, try to:
- Close Unity, unplug/plug yout tracker USB cable to your PC, then start Unity again
- Change your USB cable
Well done! This is the end of the simplest part: just a quick test to see if your Antilatency tracker is properly working. In the next part of the tutorial we’ll see how to setup Unity to deploy on OculusGo, and how to run Antilatency sample project on you OculusGo!